 Lynden Siding
 Building New in Maple Falls Means Building for Water, Not Just Weather
If you're framing a new home in Maple Falls, the window package you choose and how it's installed will matter more than almost any other exterior decision you make. This is foothill country on the edge of Whatcom County, where marine moisture off the Sound and heavy mountain-adjacent rainfall combine to keep everything around a house damp for long stretches of the year. Add in a moss season that can run from fall through spring, and you've got a climate that punishes any weak point in a window's water management system. A window that looks fine going in can still leak, fog, or rot at the frame within a few years if the flashing detail was rushed or the sealant was asked to do a job it was never designed for.
New construction is actually the best time to get this right. Unlike a retrofit, you're not working around existing siding, trim, or old flashing — you're building the water management system into the wall from the framing stage forward. Done correctly, that window opening should outlast the windows themselves.
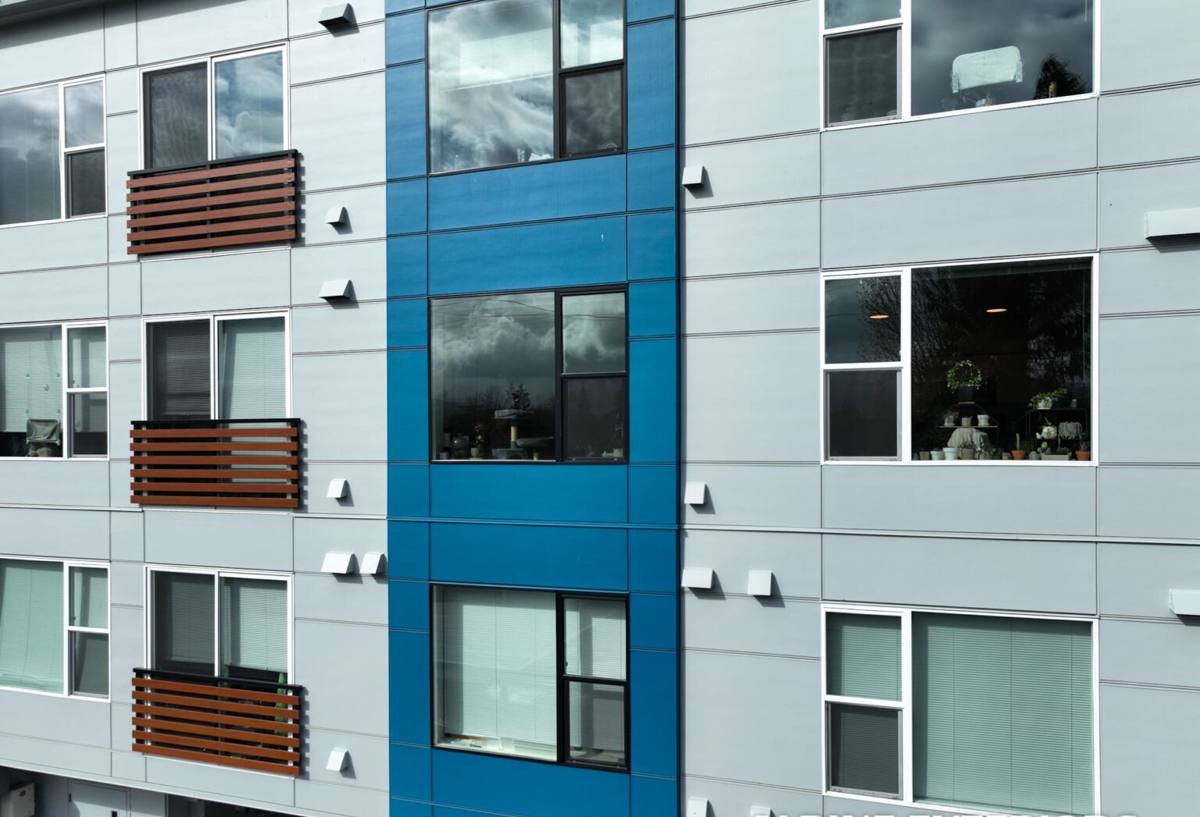
What Maple Falls' Climate Actually Demands From a Window Install
Three regional conditions drive most of the decisions on a new-construction window job out here:
- Driving rain: Wind-driven rain doesn't just fall on a window — it gets pushed sideways and upward under trim and flanges if the flashing sequence isn't layered correctly, shingle-fashion, from the bottom up.
- Long moss season: Shaded, tree-lined lots hold moisture longer. Moss and algae growth around sills and trim isn't just cosmetic — it holds water against wood and caulk joints far longer than a dry, sun-exposed wall would.
- Salt-influenced marine air: Whatcom County's proximity to the Sound means metal flashing, fasteners, and hardware see more corrosive exposure over time than the same products would inland. Material selection matters as much as installation technique.
None of this means new construction here is harder than anywhere else — it just means there's less room for skipped steps. A sill pan that's "close enough" or a WRB (weather-resistive barrier) lap that's backwards will show up as a problem eventually. In this climate, "eventually" tends to arrive sooner than homeowners expect.
Temperature Swings and Condensation
Maple Falls sits at a higher elevation than Lynden proper, so it sees colder winter nights and more temperature swing between day and night than the lowland parts of Whatcom County. That swing drives interior condensation on windows with a poor thermal break or an incomplete air seal at the rough opening. Good glass matters, but the install — specifically how the window is air-sealed to the framing — has just as much influence on condensation and comfort as the window unit itself.
What a Correct New-Construction Window Install Actually Involves
"New construction window" isn't just a description of when it goes in — it refers to a specific installation method that differs from a retrofit or pocket replacement. Done right, it looks like this:
1. Sill Pan First
Before the window ever touches the opening, the rough sill gets a sloped, sealed pan flashing so any water that does get past the window has a built-in path back outside instead of into the framing. This is the single most-skipped step we see on rushed builds, and it's the one that causes the most damage down the road.
2. Weather-Resistive Barrier Integration
The house wrap or WRB has to be cut and lapped in the correct order — jambs, then head, then the window's nailing fin taped over that — so that water always sheds down and over the layer beneath it, never behind it. Get this sequence backwards and you've built a funnel instead of a barrier.
3. Nailing Fin Flashing and Head Flashing
The nailing fin gets taped or flashed on all four sides, and a dedicated head flashing (or drip cap) goes above the window to kick water away from the top before it ever reaches the frame. In a driving-rain climate, head flashing isn't optional trim detail — it's doing real work.
4. Air Sealing at the Rough Opening
Low-expansion foam or backer rod and sealant around the interior gap between the window frame and the rough opening stops both air leaks and interior condensation. This step is invisible once trim goes on, which is exactly why it's the one corners get cut on by crews that don't know they'll be judged on callbacks two winters later.
5. Exterior Trim and Final Seal
Trim, casing, and the final bead of exterior sealant go on last — sealing the outer edge without trapping moisture that needs to drain from the sill pan below.
Choosing a Window Frame Material for a Maple Falls Build
We don't push one brand or material on every job — the right choice depends on your budget, the home's design, and how exposed the elevation is to weather. Here's how the common frame materials actually perform in this climate:
| Frame Material | Moisture Resistance | Maintenance | Typical Lifespan | Best Fit |
|---|---|---|---|---|
| Vinyl | Very good — won't rot or corrode | Low; occasional cleaning | 20–30+ years | Budget-conscious builds, rental or spec homes |
| Fiberglass | Excellent; dimensionally stable in temperature swings | Low | 30–40+ years | Homes prioritizing longevity and paintable finish |
| Wood-Clad | Good on exterior, but interior wood needs upkeep | Moderate to high | 20–30 years with maintenance | Custom or traditional-style homes where interior wood look matters |
| Aluminum | Fair; prone to condensation without a thermal break | Low, but corrosion risk in marine air | 20–30 years | Modern designs; requires thermally broken frames here |
For most Maple Falls new builds, we steer clients toward vinyl or fiberglass because both shrug off the moisture and moss exposure this area sees without asking for ongoing upkeep. If you're set on a wood-interior look, that's a fine choice too — it just means budgeting for periodic finish maintenance on the interior side, which we'll walk you through honestly rather than glossing over.
How We Work New-Construction Window Jobs in Maple Falls
We coordinate directly with your builder or general contractor rather than working in isolation, because window flashing has to integrate with the WRB, the siding plan, and sometimes the roofline all at once. Our process on a typical new build:
- Rough opening review: We check openings against the window schedule before install day — catching sizing or squaring issues while they're still cheap to fix.
- Sill pan and flashing install: Done to manufacturer specification and matched to your specific WRB system, not a generic one-size approach.
- Window set and fin flashing: Units are set plumb, level, and square, then flashed in the correct shingle-lap order.
- Interior air seal: Rough openings are sealed before insulation and drywall go in, since this step is impossible to fix cheaply later.
- Exterior trim coordination: We time exterior trim and siding tie-in so the final water path is continuous, with no gaps at transitions.
Because we work regularly in Maple Falls and the surrounding Lynden area, we already know which elevations and lot types tend to need extra attention — heavily shaded, tree-covered lots with more moss and slower drying time get a closer look at flashing overlap and drainage than an open, sun-exposed site would.
Mistakes We See on Rushed New-Construction Window Jobs
- Nailing fins fastened directly over house wrap without proper flashing tape sequence, leaving seams exposed to wind-driven rain.
- Skipped or improvised sill pans — sometimes just a bead of caulk standing in for a real sloped pan.
- Foam or caulk used as the only air seal at the rough opening, with no backer rod to control depth and prevent three-sided adhesion failure.
- Head flashing omitted because "the siding will cover it anyway."
- Trim installed tight to the sill with no way for water in the pan to actually drain back out.
Every one of these is fixable during construction for the cost of a little extra time. After siding and trim are on, the same fix means tearing back finished work — which is a very different bill.
Why Hiring a Crew That Already Works Maple Falls Matters
Window installation looks similar on paper anywhere in Whatcom County, but local familiarity changes the details that actually protect the house: how much overlap a flashing detail needs given the rainfall this specific area sees, which elevations need extra drainage attention because of shade and moss buildup, and how to sequence work around the wetter stretches of the build calendar so water management isn't compromised by a rushed schedule. A crew that's done this work up in Maple Falls before isn't guessing at any of that.
Before you hire anyone for a new-construction window package, it's worth asking a few direct questions:
- Do you install a sill pan flashing on every window, or only when asked?
- How do you sequence your flashing relative to the house wrap?
- Do you coordinate directly with the builder's framing and siding schedule?
- What's your air-sealing method at the rough opening, and is it done before insulation goes in?
- Have you worked on homes in this specific area before, and do you know its drainage and moss patterns?
A contractor who answers these clearly and specifically, without hesitation, is one who's actually done the work — not just quoted it.
Get a Straight Answer on Your Window Package
If you're building new in Maple Falls and want a window installation plan that accounts for the rain, moss, and moisture this area actually sees, we're glad to walk your plans and rough openings with you. Reach out for a free, no-pressure estimate using the form below — we'll give you an honest read on materials, flashing approach, and timing for your build.