 Lynden Siding
 Window Installation Built for Custer's Weather
Custer sits in the flat farmland north of Lynden, close enough to the Salish Sea to catch salt-laden air on winter storms and open enough that driving rain has nothing to slow it down before it hits a wall. Whatcom County doesn't get the kind of dramatic weather that makes headlines, but it gets something harder on a house: months of steady, wind-pushed rain, a moss and mildew season that runs nearly year-round on shaded elevations, and enough marine air drifting inland to shorten the life of cheap hardware and fasteners. None of that is a problem a window unit solves by itself. It's a problem the installation solves, or doesn't.
We install windows throughout the Lynden and Custer area as part of a full exterior trade — siding, roofing, windows, and decks — which matters here specifically because a window is never really a standalone product. It's a hole in the building envelope that has to be flashed, sealed, and tied into the surrounding wall correctly, or it becomes the weak point that lets water in behind the siding where nobody sees it until there's rot. Good installation work is mostly invisible once it's done. That's the point.
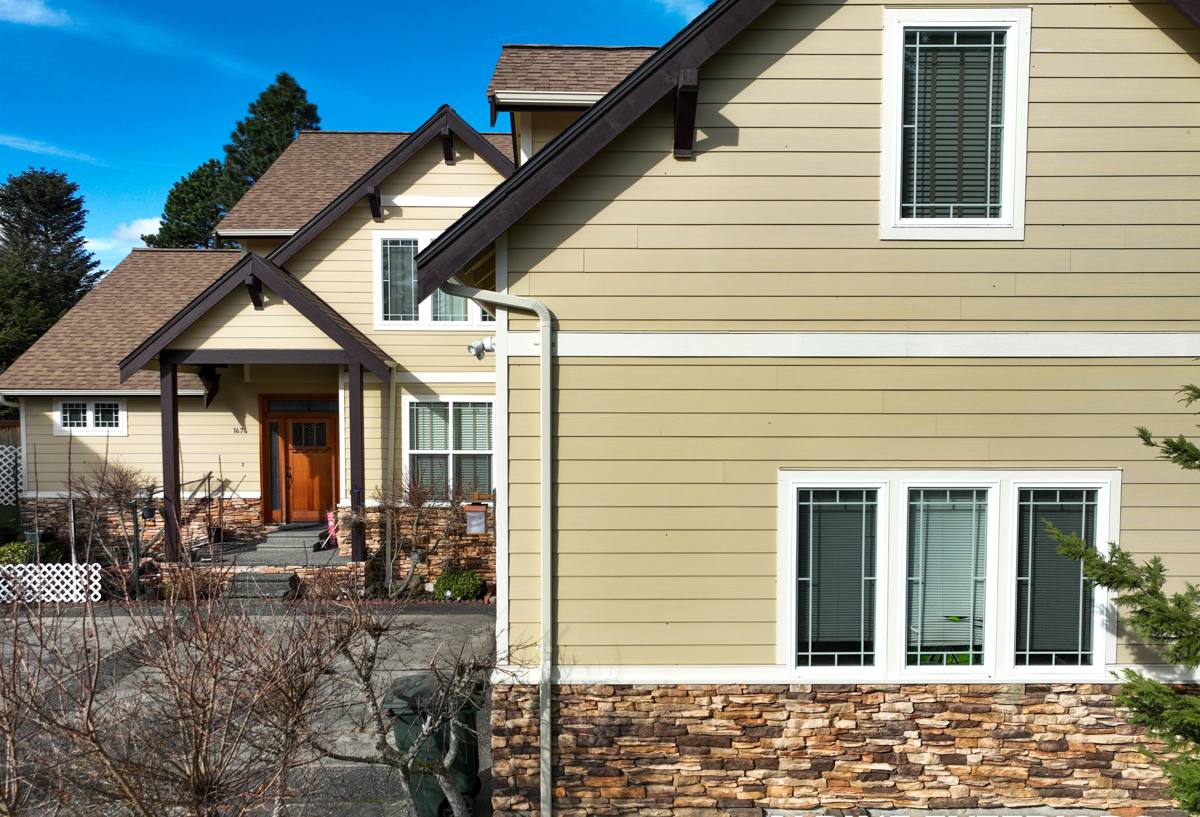
Why Installation Quality Matters More Than the Window Brand
Homeowners shopping for windows tend to focus on brand names, glass packages, and frame material, and those choices matter. But in a climate like Custer's, the installation is usually the bigger variable in how long a window performs well. A well-built window installed with flashing that doesn't lap correctly, or with caulk substituting for proper water management, will leak within a few wet seasons regardless of what's printed on the warranty card. A mid-grade window installed correctly — sill pan flashing, proper head and jamb integration, sealant used as a supplement rather than the whole plan — will often outperform it by years.
This is why we spend more time talking with homeowners about flashing sequence and drainage than about product catalogs. It's the part of the job that determines whether the window is still performing in fifteen years or starting to show water staining on the interior sill in three.
Sill Pan Flashing
Every window opening should have a sloped sill pan under it before the window ever goes in, so that any water that does get past the window — and some always will, over decades of wind-driven rain — has somewhere to drain instead of soaking into the framing. This is a step that's easy to skip and impossible to see once the siding is back on, which is exactly why it matters who's doing the work.
Head and Jamb Flashing
Flashing above and along the sides of the window has to integrate with the weather-resistive barrier already on the wall in the correct shingle-lap order — each layer overlapping the one below it — so water is directed out and down, never trapped behind the window where it can migrate into the wall cavity. Getting this order backwards is one of the most common mistakes we find when we open up an older wall for a repair.
Sealant's Real Job
Sealant belongs at the final layer, closing small gaps after the mechanical flashing is already doing the real work of shedding water. Caulk alone, without flashing behind it, breaks down within a handful of Whatcom County winters and turns into a slow, hidden leak. We treat sealant as a backup, not a substitute.
Full-Frame Replacement vs. Insert Replacement
Not every window job is the same kind of job, and matching the right installation method to the condition of the existing opening is one of the first calls we make on site.
| Installation Type | What It Involves | Best Fit |
|---|---|---|
| Insert (pocket) replacement | New window fits inside the existing sound frame; less disruption to interior and exterior trim | Frame and flashing are still in good condition, no rot present |
| Full-frame replacement | Old frame is removed down to the rough opening, allowing fresh flashing and a full inspection of the framing | Frame is rotted, flashing has failed, or the opening size is changing |
| New construction installation | Window is set into a fresh rough opening with a nailing flange, flashed before siding goes on | New builds and full siding replacement projects |
Insert replacement is faster and less invasive, but it only makes sense when the existing frame and flashing behind it are actually sound. Installing a new window into a frame with hidden rot or already-failed flashing just seals the problem back up behind a nicer window. Part of our job on the initial walkthrough is telling a homeowner honestly which category their windows fall into, not defaulting to whichever option is easier for us.
Choosing Windows for This Corner of Whatcom County
We install vinyl and fiberglass window systems, and for most Custer and Lynden-area homes the decision comes down to budget and a few performance factors rather than one option being universally better.
- Frame material: Vinyl and fiberglass both resist rot in a way uncladded wood frames don't, which matters given how much sustained moisture this region sees through fall and winter.
- Glazing package: Double-pane with a low-E coating is the practical standard here; it cuts heat loss during cold, damp stretches and reduces the interior condensation that shows up on older single-pane windows.
- Hardware grade: Corrosion-resistant hardware holds up longer against marine air that reaches inland to Custer than standard hardware does, even on a property that isn't waterfront.
- Nailing flange and flashing compatibility: The window's flange design has to work with how we're flashing the opening — this is a detail worth confirming with any installer, not just the homeowner's own preference.
Our Installation Process
Every job starts with an on-site look at the existing openings, checking for rot, checking how the current flashing (if any) is tied into the wall, and measuring each opening individually rather than assuming they're all the same size. From there we walk the homeowner through what we're seeing and give a written scope before anything gets removed.
- Site assessment and measurement of each opening, noting frame condition and existing flashing
- Careful removal of the old window and, where needed, the surrounding trim
- Inspection of the rough opening and framing for hidden rot before anything new goes in
- Sill pan flashing installed first, sloped to drain outward
- New window set, leveled, and secured to manufacturer specification
- Head and jamb flashing integrated with the existing weather-resistive barrier in proper shingle-lap order
- Sealant applied as the final layer, not the only layer
- Interior and exterior trim finished, and a final function check on every unit before we leave the site
Installation Mistakes We Find on Older Custer Homes
When we get called out to a window that's leaking or a sill that's gone soft, the window itself is rarely the actual cause. It's almost always something in the installation.
- No sill pan flashing, so any water that gets past the window soaks straight into the framing instead of draining out
- Flashing layers installed in the wrong order, directing water inward instead of out and down
- Caulk used as the only water barrier, with no mechanical flashing behind it
- Window set out of level or out of square, straining the frame and breaking seals early
- Gaps around the rough opening left unsealed against air infiltration, showing up later as drafts
These aren't exotic failures. They're the predictable result of rushing a step that doesn't show once the trim goes back on — which is exactly why it's worth asking any installer directly how they handle flashing sequence, not just what window brand they carry.
A Checklist Before Hiring for Window Installation in Custer
- Ask specifically how they sequence flashing — sill pan first, then head and jamb integration with the WRB
- Confirm current Washington contractor licensing and active liability insurance
- Get a written scope that spells out whether the job is insert replacement, full-frame replacement, or new construction installation
- Ask how they separate the manufacturer's product warranty from their own installation warranty
- Ask about realistic lead times — window orders for this region often run several weeks depending on size and configuration
- Confirm whether a building permit is needed for the scope of work before anything starts
Why a Crew That Already Works Custer Matters
A contractor who installs windows regularly in this stretch of Whatcom County already knows how wind-driven rain behaves on an open, low-lying property, how far marine air actually reaches inland, and how long moss and mildew take to establish on a shaded sill. That knowledge shows up in decisions a homeowner never sees directly — how much lap a flashing detail gets, whether a sealant bead is treated as a finishing touch or a load-bearing part of the water plan, which hardware grade actually holds up out here. Those are the decisions that separate a window installation that's still tight in twenty years from one that starts showing problems in five.
If you're planning a window replacement or a new installation on a Custer-area home near Lynden, we're glad to take a look, walk you through what your specific openings need, and give you a straightforward, honest scope. Reach out below for a free, no-pressure estimate.