 Lynden Siding
 Building New in Everson: What the Windows Have to Handle
Everson sits along the Nooksack River in Whatcom County, just down the road from Lynden, and it shares the same weather pattern that shapes every building decision in this part of the state: marine air pushing in off Puget Sound, long stretches of driving rain, and enough shade and moisture on north- and west-facing walls to grow moss on almost anything that sits still long enough. For a new-construction project, that climate isn't a side note — it's the whole reason window installation has to be done in a specific order and to a specific standard.
New construction gives you one real advantage over a remodel: the wall is open. The weather-resistive barrier, the flashing, and the window itself all go in together, in sequence, before siding closes everything up. Get that sequence right and the house is set up to shed water for decades. Get it wrong — even in small ways — and the mistake gets buried behind siding and trim, where nobody finds it until there's a stain on a ceiling or soft trim around a sill.
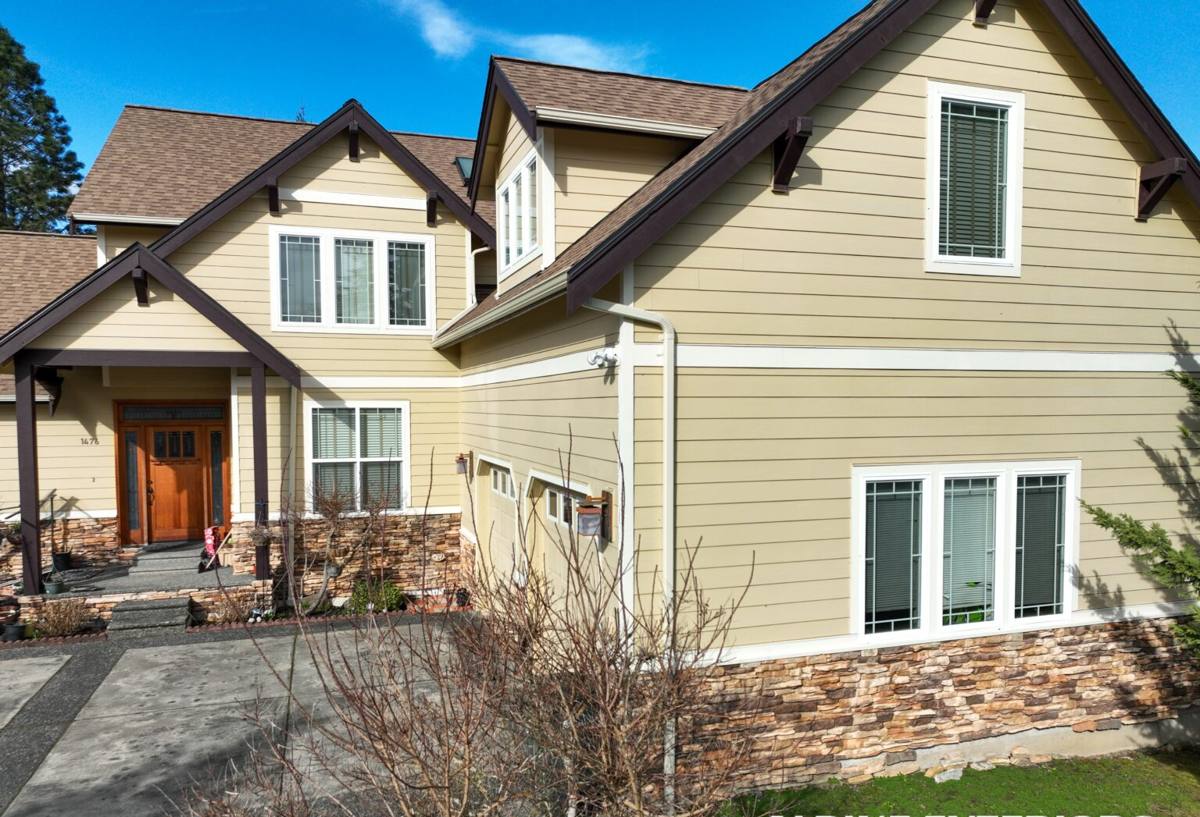
New-Construction Windows vs. Retrofit Windows: Why the Distinction Matters
These are two different products solving two different problems, and mixing them up on a new build is one of the more common ways a house ends up with a hidden leak path.
- New-construction windows have a nailing fin (a flange around the perimeter of the frame) that gets fastened directly to the stud opening and integrated into the weather-resistive barrier before siding goes on. This is the correct product for a house being framed from scratch.
- Retrofit (insert) windows are built to install into an existing frame without disturbing the exterior finish — the right tool for a remodel, the wrong tool for new construction, since it skips the flashing integration a fresh opening allows.
On a new build in Everson, there's no reason to use a retrofit product, and doing so gives up the single biggest advantage new construction offers: a fully integrated, shingle-lapped water management system around every opening.
What a Correct New-Construction Window Install Actually Involves
The window itself is often the easiest part. The flashing and sequencing around it is where the job is won or lost, especially under Whatcom County's rain load.
Sill Pan First
Every rough opening should get a sloped sill pan — a shaped, sealed pan at the bottom of the opening that directs any water that gets past the window (and some always will, eventually) back out to the exterior instead of down into the wall cavity.
Shingle-Style Sequencing
Flashing has to be layered like shingles on a roof: sill pan first, then the window's nailing fin over that, then jamb (side) flashing over the fin, then head flashing last, with the housewrap lapped over the top of the head flashing. Reverse any of that order and water runs behind the layer instead of over it.
Sealant in the Right Places — Not Everywhere
New builders sometimes assume more sealant is always safer. It isn't. The bottom of the nailing fin and the weep path at the sill need to stay unsealed so any water that does get in can drain back out. Sealing that path traps water inside the wall instead of keeping it out.
Interior Air Sealing
Backer rod and low-expansion sealant (not spray foam alone) around the interior perimeter control air leakage and condensation risk without interfering with the exterior drainage plane.
Choosing a Window for Whatcom County Conditions
Frame material matters more here than in a dry climate, because the frame spends its whole life in contact with moist air and, periodically, standing water at the sill. Here's how the common options actually compare for a new build in this region — not brand marketing, just the honest trade-offs.
| Frame Type | Moisture Behavior | Maintenance | Typical Cost Tier |
|---|---|---|---|
| Vinyl | Won't rot; seams and corners are the main long-term watch points | Low — occasional cleaning | Entry to mid |
| Fiberglass | Very stable, minimal expansion/contraction, holds paint and seals well | Low | Mid to upper |
| Wood-clad (exterior clad) | Good if cladding and flashing are perfect; wood core is at risk if water ever gets behind the clad | Higher — depends on install quality | Upper |
| Bare wood | Requires the most disciplined maintenance in a wet climate; not our default recommendation for this region | Highest | Varies |
We don't push bare wood windows on new builds in this area — not because wood is a bad material, but because a wet Whatcom County exterior is an unforgiving environment for a product that depends on an unbroken paint or finish film to stay dry. Vinyl and fiberglass carry that risk far better with far less upkeep, and that's the honest trade-off we'll walk you through rather than sell around.
Our Process on a New-Construction Job in Everson
- Framing walkthrough: we check rough openings for size, square, and level before a single window shows up on site — cheaper to fix on paper than after delivery.
- Sill pan and flashing installation: sloped pans and shingle-lapped flashing go in ahead of the windows, tied into the weather-resistive barrier as it's being installed.
- Window setting: units are set plumb, level, and square, shimmed correctly, and fastened per the manufacturer's schedule — not just "however many screws fit."
- Head flashing and housewrap lap: completed before siding crews close the wall, so nothing gets covered up out of sequence.
- Interior air sealing and trim prep: backer rod and sealant, ready for interior finish work.
- Final check with the builder or GC: we walk the openings together before siding starts, since that's the last point anyone can see the flashing.
Flashing, Sequencing, and the Details That Prevent Callbacks
Most window leaks on new builds aren't caused by a bad window — they're caused by a skipped step or a reversed layer that only shows itself once the siding is on and the first real storm rolls through. In a climate that gets sustained, wind-driven rain the way Whatcom County does, a wall doesn't get many chances to shed a flashing mistake before water finds its way to wood framing or sheathing. That's also where the region's long moss season becomes relevant to windows specifically: persistent moisture at a sill or head flashing that never fully dries out is exactly the condition moss and rot both need, and it's avoidable with correct sequencing rather than more sealant.
The fix isn't exotic material — it's discipline about order of operations, and it's a lot easier to enforce when the same crew is doing the flashing and setting the windows, rather than splitting that work across trades who never see each other's steps.
Why a Crew That Already Works This Area Matters
New-construction window work happens on a schedule set by framers, siding crews, and inspectors, and it has to fit into that sequence without slowing anyone down. A crew that regularly works in and around Lynden and Everson already knows how local builds tend to be scheduled, has working relationships with the general contractors coordinating these projects, and isn't learning the region's rain patterns or drainage expectations for the first time on your job. That familiarity shows up less in anything dramatic and more in the ordinary things going right the first time — openings prepped correctly before we show up, flashing sequenced the same way on every house, and a final walkthrough that actually catches problems before they're covered by siding.
Checklist: Questions to Ask Before Signing a Window Contract
- Will you install a sloped sill pan under every window opening, not just where it's convenient?
- Do you follow shingle-style flashing sequencing (sill, fin, jamb, head, then housewrap lap)?
- Will weep paths at the sill be left open for drainage rather than fully sealed?
- Are you setting new-construction (nailing fin) windows, or retrofit units, in my rough openings?
- Who does the final flashing check before siding closes the wall — and can I walk it with you?
- What frame material are you recommending for this specific house, and why?
Getting Started
If you're framing a new home or addition in Everson or anywhere around Lynden, we're happy to walk the openings with you, talk through frame material trade-offs for your specific site, and give you a straightforward, no-pressure estimate before siding closes anything up. There's a form below — reach out and we'll get you on the schedule.