 Lynden Siding
 New-Construction Windows Are a Different Job Than a Replacement
When people hear "window installation," most picture pulling out an old unit and dropping a new one into an existing opening. New-construction window installation is a different trade altogether. It happens during the framing stage of a build, before siding goes on, and it's the point where the window becomes part of the building's water management system rather than just a piece of glass in a hole. Get this stage wrong and you don't find out for a year or two, when water starts tracking into the wall cavity behind the siding where nobody can see it.
For a new build or addition going up in Custer, this stage matters more than average. This is a wet corner of Whatcom County, with driving rain that comes in sideways during winter storms and a long stretch of the year where surfaces stay damp enough to grow moss. A window opening that's flashed and sequenced correctly the first time saves the homeowner from chasing leaks, rot, and mold remediation down the road.
Nail-Fin vs. Flush-Fin: Know Which One You're Getting
Most new-construction windows use a nailing fin — a flange around the perimeter of the frame that gets fastened directly to the sheathing, then covered by the weather-resistive barrier and flashing. This is the standard approach for wood-framed new builds and is what we install on the large majority of Custer projects. Some architectural styles call for flush-fin or block-frame windows instead, which integrate differently with the wall assembly. Either way, the window has to be matched to how the wall is built — not chosen off a showroom floor and forced to fit.
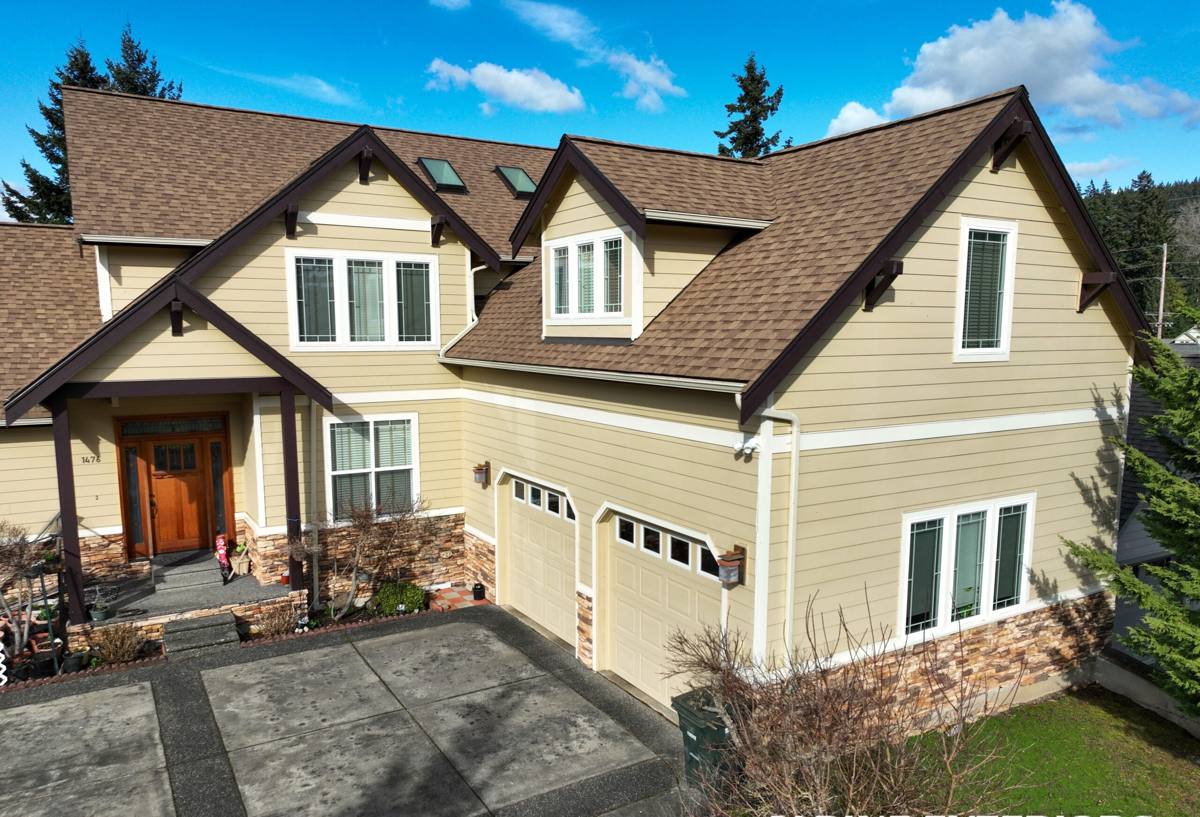
What Custer's Climate Demands From a New Window Install
Custer sits close enough to the water that homes here deal with a steady mix of moisture and salt-laden air, on top of the wind-driven rain that's normal for this stretch of Whatcom County. That combination shows up in three ways during a new-construction install:
- Driving rain: Storms here don't just fall straight down — wind pushes rain sideways into vertical wall surfaces, which puts real pressure on every seam around a window opening.
- Salt air: Airborne salt accelerates corrosion on exposed fasteners, hardware, and untreated metal flashing faster than it would further inland.
- Long moss season: Cool, damp conditions persist for much of the year, which means any spot where water can pool or linger around a window sill becomes a long-term moisture problem, not just a seasonal one.
None of this means a house in Custer needs exotic materials. It means the flashing details, fastener choices, and sealant work have to be done correctly and in the right order — every time, not just when it's convenient.
The Window-to-Wall System: Flashing, WRB, and Sequencing
A window opening is only as good as the layers around it. We treat every new-construction window as part of a drainage plane system, not a standalone product.
Flashing Order Matters
Water has to be directed out and down at every layer, shingle-style, so nothing above ever laps behind something below it. That means:
- A sloped sill pan flashing goes in first, so any water that gets past the window has a built-in path back outside instead of soaking into the framing.
- Side (jamb) flashing goes over the sill pan legs.
- The window unit is set, leveled, shimmed, and fastened through the nailing fin.
- Head flashing goes on last, lapping over the top of the window and integrating with the weather-resistive barrier above it.
Integration With the Weather-Resistive Barrier and Siding
The window flashing has to tie into the house wrap or building paper correctly at every edge — taped, lapped, and sealed so the whole wall works as one continuous drainage plane. Once siding goes on over that assembly, any mistake underneath is hidden for years. This is why we don't treat window installation as a separate trade working in isolation from framing and siding — it has to be coordinated with both.
Choosing the Right Window for a Custer New Build
Frame material affects how a window holds up against salt air, moisture, and the maintenance schedule a homeowner is realistically willing to keep up with. There's no single "best" choice — it depends on the home's design, budget, and how much upkeep the owner wants to take on.
| Frame Material | Salt Air / Moisture Behavior | Maintenance | Typical Fit |
|---|---|---|---|
| Vinyl | Won't corrode or rot; performs well in coastal-influenced air | Low — occasional cleaning | Cost-conscious new builds, most residential projects |
| Fiberglass | Very stable, resists warping and won't corrode | Low | Homes wanting a slimmer profile or paintable frame |
| Wood-clad | Exterior cladding protects the wood, but any breach in the cladding or sealant can let moisture reach bare wood | Higher — sealant joints and cladding need periodic inspection | Homes prioritizing interior wood aesthetics |
| Bare aluminum | Prone to corrosion and condensation in damp, salt-influenced climates without a quality thermal break and finish | Moderate to high | Rarely our first recommendation for this area |
For most Custer new-construction projects, vinyl or fiberglass frames give the best balance of moisture resistance and low upkeep. Wood-clad units can absolutely work, but we're honest with clients up front about the added maintenance responsibility that comes with them in a climate that stays damp this long each year.
Our Installation Process
We keep the process consistent from job to job because consistency is what prevents callbacks. On a typical new-construction install:
- We review the rough openings against the window schedule before any unit arrives on site — catching a sizing or sequencing issue on paper is a lot cheaper than catching it after framing is closed up.
- We install sill pan flashing and confirm proper slope to the exterior.
- We set each window plumb, level, and square, then fasten through the nailing fin per the manufacturer's schedule.
- We install jamb and head flashing in the correct shingle-lap order and tie it into the weather-resistive barrier.
- We check operation — every sash opens, closes, and locks smoothly before we move to the next opening.
- We document any items that need follow-up with the framing or siding crew before that stage of construction covers our work.
Common Mistakes We Watch For on New-Construction Sites
Most window leaks trace back to a handful of preventable errors. Whether we're installing the windows ourselves or coordinating with a builder's crew, this is what we check for on every opening:
- Missing or improperly sloped sill pan flashing
- Flashing installed out of shingle-lap order, letting water run behind a lower layer
- Housewrap or building paper not properly taped and lapped at the window flange
- Fasteners that don't match the manufacturer's spacing and type requirements
- Windows set out of plumb or square, which stresses seals and can bind hardware over time
- Sealant used as a substitute for correct flashing sequence rather than a supplement to it
- Gaps left around the rough opening that are never properly insulated or air-sealed
Timing: Coordinating Windows With Framing and Siding
New-construction windows sit in the middle of the build schedule — after framing and weather-resistive barrier, before siding. On a new home or addition in Custer, that window (no pun intended) can be tight, especially if a storm system rolls in mid-build. We plan around that reality rather than around it. If openings need to sit exposed for any length of time, we make sure they're properly protected until the window units and flashing can go in, so an unexpected rain event doesn't compromise framing that's already been squared and set.
Why Hire a Crew That Already Works in Custer
Whatcom County covers a wide range of microclimates and building conditions, from inland Lynden to the coastal-influenced areas around Custer. A crew that works this specific area regularly knows what driving rain and salt air actually do to a wall assembly over time — not just in theory, but from having opened up older walls and seen where past shortcuts caused problems. That experience shows up in the details: how flashing gets lapped, which fastener types hold up, and where extra attention around a sill pays off years later. We'd rather get those details right the first time than have a homeowner call us back after move-in.
What This Means for Your Project
If you're building new or adding on in Custer, the window installation stage is not a place to cut corners or rush the schedule. The flashing and sequencing decisions made during framing determine whether those windows stay watertight for decades or start causing problems within a few winters. We treat every opening as part of the whole building envelope, sized and flashed to handle the rain and moisture this area sees every year.
If you'd like to talk through window options for an upcoming build in Custer, we're happy to walk the plans with you and put together a free, no-pressure estimate — just use the form below to get started.