 Lynden Siding
 Building New in Blaine? Get the Windows Right Before the Siding Goes On
Blaine sits right on the water, close enough to Semiahmoo Bay and Drayton Harbor that salt air is just part of daily life. If you're framing a new home or a major addition here, the window installation is one of the few steps in the build where a mistake doesn't show up right away — it shows up two or three winters later, as a soft spot in the sheathing or a stain creeping down the wall from a corner nobody thought twice about. New construction gives you one real chance to do this correctly, before the siding and trim cover up the flashing details that actually keep water out.
We've installed windows on new builds throughout Whatcom County, including a fair number close to the Blaine shoreline, and the pattern is consistent: homes here don't fail because the windows are cheap. They fail because the flashing sequence was rushed, the wrong sealant was used against the wrong frame material, or the crew treated a coastal lot the same way they'd treat a build twenty miles inland. This page covers what actually matters for new-construction windows on a Blaine project — the climate factors, the installation details, and the process we follow to get it right the first time.
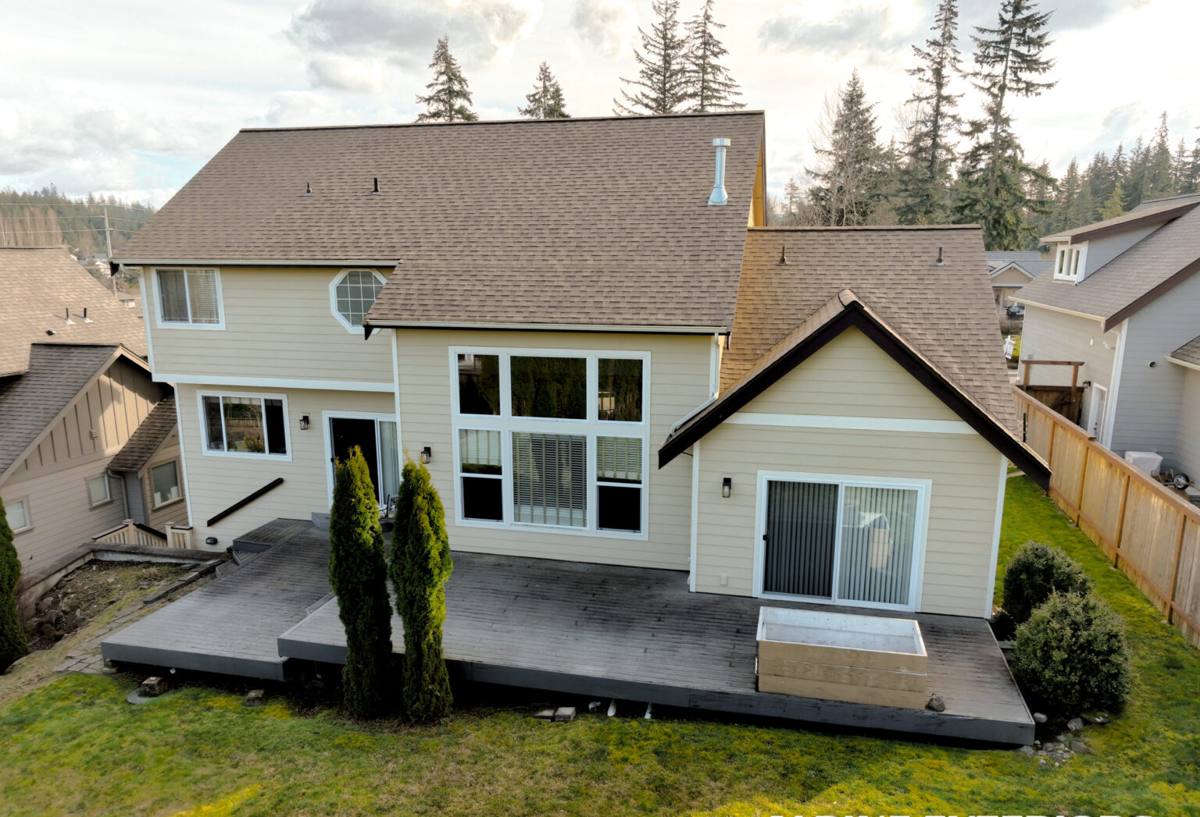
What Blaine's Climate Actually Does to New Windows
Three things drive almost every window problem we see on coastal Whatcom County builds, and they compound each other over time.
Salt Air
Airborne salt is corrosive to exposed metal hardware, fasteners, and lower-grade window frames. On a new build, this mostly affects your choice of frame material and hardware finish — a window rated for general Pacific Northwest use isn't automatically rated for a lot sitting close to the bay. We factor proximity to the water into what we recommend, not just the regional climate zone.
Driving Rain
Wind off the water pushes rain sideways, not straight down. That means water gets driven up and under trim, into gaps a standard flashing detail might not fully seal, and against window corners with more force than an inland install ever sees. New-construction flashing has to assume wind-driven rain as the normal condition, not the exception.
A Long Moss Season
Whatcom County's wet stretch runs long, and moss and algae find a foothold anywhere moisture sits without drying out — sills, bottom corners, and anywhere flashing tape was applied over damp sheathing. On a new build this is preventable almost entirely through sequencing: build in dry conditions when possible, and never trap moisture behind the window before it's sealed.
Getting New-Construction Windows Right the First Time
New construction is easier than a retrofit in one respect — you're not fighting existing siding or old flashing — but it's less forgiving in another: every layer has to go on in the correct order, because the next trade covers it up. There's no going back to fix a flashing mistake once the siding crew has moved past that wall.
Nail-Fin vs. Block-Frame in New Construction
Most new builds in this area use nail-fin (flanged) windows, which attach directly to the sheathing and get integrated into the weather-resistive barrier. Some higher-end or custom builds use block-frame windows set into a rough opening with separate flashing pans. Both can perform well on a coastal Blaine lot — the difference isn't which one is "better," it's whether the installer follows the correct flashing sequence for whichever type is specified. Mixing details from one system into the other is a common source of leaks.
Flashing Order Matters More Than the Brand of Window
We follow a consistent sequence on every new-construction install, regardless of manufacturer:
- Sill pan flashing installed first, sloped to shed water outward, never flat or reverse-sloped
- Window set into the opening, checked for level, plumb, and square before a single fastener goes in
- Side flashing applied in a shingle-style overlap so water always sheds downward and outward
- Head flashing installed last, lapping over the side flashing — never tucked underneath it
- Weather-resistive barrier integrated over the top flange, maintaining a continuous drainage plane
Get that order wrong — even by lapping one piece the wrong direction — and you've built a path for wind-driven rain to get behind the window, and it may not show up until the drywall inside starts telling on it.
Choosing Frame Materials for a Blaine Build
Frame material matters more here than it would on a build further from the water. This is a general comparison to help frame the conversation — the right choice depends on your budget, your builder's specs, and how close your lot sits to the shoreline.
| Frame Material | Coastal / Salt Air Performance | Maintenance | Typical Fit |
|---|---|---|---|
| Vinyl | Good — won't corrode, but lower-end vinyl can become brittle over many years of UV and moisture cycling | Low | Cost-conscious new builds, spec homes |
| Fiberglass | Very good — dimensionally stable, resists warping and doesn't corrode | Low | Buyers wanting long-term durability without wood upkeep |
| Wood-Clad | Fair to good — depends entirely on cladding integrity and how well end grain is sealed | Higher | Custom builds prioritizing interior wood appearance |
| Aluminum | Requires marine-grade hardware and finish near the water, or corrosion risk rises | Moderate | Modern designs, large fixed panes |
We're honest with builders and homeowners about trade-offs rather than pushing one product. Wood-clad windows can look excellent, but on a lot exposed to salt air and driving rain, any weak point in the cladding seal becomes a maintenance issue faster than it would inland. Fiberglass and quality vinyl tend to be the lower-maintenance path for most Blaine builds, but we'll install what your design calls for and flag anything that needs an upgraded hardware spec because of the site.
Our New-Construction Window Process
We coordinate directly with builders and general contractors, so windows go in at the right point in the schedule — not too early, before the opening is properly prepped, and not so late that it holds up siding.
- Review the window schedule and rough openings against the plans before delivery
- Confirm rough openings are square, dry, and correctly sized before setting anything
- Install sill pan flashing and verify positive slope before the window goes in
- Set, shim, and fasten each window to manufacturer spec — not "close enough"
- Flash in the correct shingle-lap sequence, integrated with the weather-resistive barrier
- Seal and insulate the interior gap without over-compressing low-expansion foam against the frame
- Walk the exterior with the builder before siding starts, so any adjustment happens while it's still accessible
That last step matters more than people expect. Once siding closes in a window, catching a flashing issue means removing finished work. We'd rather spend the extra ten minutes on a walkthrough than have anyone deal with that later.
Why Timing With Your Builder's Schedule Matters
New-construction windows aren't installed in isolation — they sit between framing, the weather-resistive barrier, and siding, and each of those trades depends on the one before it being done correctly. On a Blaine build, we also pay attention to weather windows. Setting windows and getting flashing sealed during a dry stretch, before a run of driving rain, keeps sheathing from taking on moisture it then has to dry out through — which is exactly the setup that leads to mold or soft spots before the house is even finished. We work with your builder's timeline, not against it, but we won't rush a flashing detail just to hit a date.
Common Mistakes We Fix on Blaine New Builds
Some of these we catch on our own installs before they become problems. Others we've been called in to correct on homes where a different crew handled the windows.
- Head flashing tucked under the side flashing instead of over it, reversing the intended water path
- Flat or reverse-sloped sill pans that hold water at the sill instead of shedding it outward
- Standard hardware used on a shoreline-exposed lot where marine-grade fasteners were warranted
- Windows fastened before the opening was fully dry, trapping moisture behind the flashing
- Sealant applied over dust or debris instead of a clean substrate, leading to early adhesion failure
- Interior gaps stuffed too tight with standard foam, bowing the frame and affecting the seal
None of these are exotic mistakes — they're the kind that happen when a crew treats a coastal Whatcom County lot like any other job site. They're also all preventable with the right sequence and a little local judgment about how hard this climate actually pushes on a building envelope.
Why a Crew That Already Works Blaine Matters
Anyone can install a window on a calm, dry day. The real test is whether the flashing detail holds up through a winter of wind-driven rain off the bay and a spring where everything stays damp long enough for moss to take hold. We work on homes throughout Lynden and the surrounding Whatcom County area, including Blaine, so we're not guessing at how exposed a lot is or what hardware spec makes sense — we've seen how these builds hold up a few years out, and we build accordingly from day one.
If you're planning a new build or a major addition in Blaine and want windows installed the right way the first time, we're happy to walk the plans with you or your builder and give you a straightforward, no-pressure estimate. There's a form below — reach out and we'll get back to you.