 Lynden Siding
 Birch Bay Windows Work Harder Than Windows Anywhere Else in Whatcom County
Birch Bay sits right on the water, and that location comes with a trade-off. The views are real, but so is the weather. Homes here take on salt-laden wind off the Strait, driving rain that hits siding and window trim at an angle instead of straight down, and a long stretch of damp, low-sun months that keep moss and algae growing on anything shaded or north-facing. Windows are one of the first places that shows up. A window that would hold up fine twenty miles inland can start failing early on a Birch Bay home simply because of what it's exposed to every day.
This isn't a scare tactic — it's just physics. Wind-driven rain finds gaps that vertical rain never would. Salt air accelerates corrosion on hardware, screws, and fasteners far faster than normal humidity does. And constant moisture without much drying time between storms means any weak point in the seal or flashing stays wet longer, which is exactly what wood rot and mold need. None of this means Birch Bay homes need exotic solutions — it means the installation has to be done correctly for this specific environment, not just "to code."
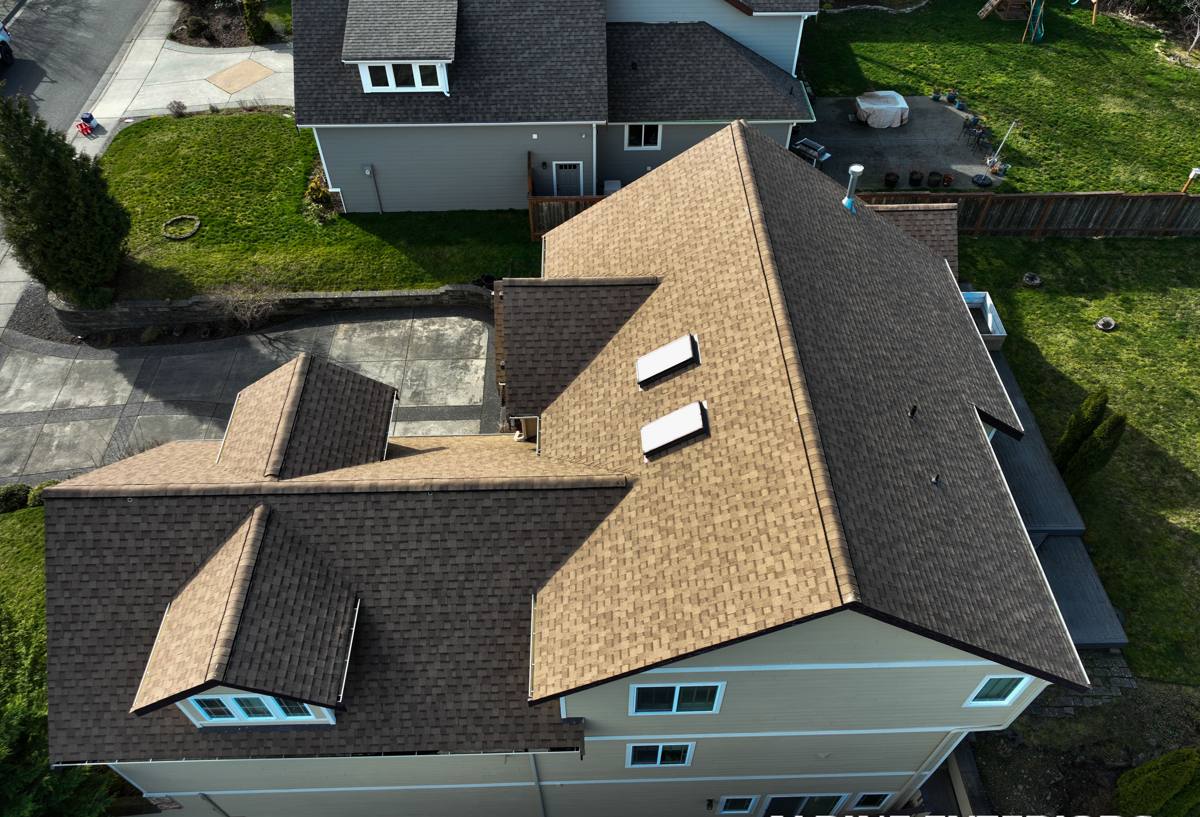
Signs Your Current Windows Are Losing the Fight
Most window failures near the water don't happen suddenly. They show up gradually, and homeowners often adjust to them without realizing how much is actually going wrong. Here's what we look for, and what you should too:
- Fogging or a cloudy haze between the panes of a double-pane window — the seal has failed and the gas fill is gone
- Noticeable drafts near the frame, especially during a west or north wind
- Hardware — locks, cranks, hinges — that's stiff, pitted, or visibly corroded
- Soft or spongy wood at the sill, or paint that's bubbling and peeling at the bottom corners
- Moss, algae, or dark staining building up on the frame or the trim around it
- Windows that have gotten hard to open, close, or lock properly
- Visible gaps, cracked caulk, or daylight showing at the edge of the trim
Any one of these on its own might just mean a repair. Several of them together, especially on the side of the house that faces the water or prevailing wind, usually means the window and its flashing are past the point where patching makes sense.
What a Correct Window Installation Actually Involves
Window installation looks simple from the outside — old window out, new window in — but the parts that actually determine whether it lasts happen where you can't see them. In a coastal environment like Birch Bay, skipping any of these steps is where premature failures start.
Down to the Rough Opening
Once the old window is out, the rough opening gets inspected before anything new goes in. Any soft sheathing, rotted framing, or water staining behind the old unit gets addressed at this stage — not covered up and hoped away. Installing a new window over hidden rot just resets the clock on the same failure.
Flashing That Actually Sheds Water
This is the step that matters most in wind-driven rain. A proper installation integrates a sill pan to catch and direct any water that gets past the window, plus head and side flashing that ties correctly into the home's weather-resistant barrier — layered so water is always directed outward and downward, never trapped behind the siding. On a home exposed to Birch Bay's crosswinds, this detail alone is often the difference between a window that stays dry for decades and one that's rotting the wall behind it in a few years.
Sealing, Shimming, and Insulating
The window gets shimmed level and plumb so it operates correctly and seals evenly, insulated around the frame with a low-expansion foam rather than just stuffed with fiberglass, and sealed with an exterior sealant compatible with both the window material and the siding it meets. Interior and exterior trim get sealed as a finishing step, not treated as decorative only.
Choosing Window Materials for Salt Air and Constant Moisture
There's no single "best" window material for every home — it depends on exposure, budget, and how the rest of the house is finished. But some materials handle a marine environment better than others, and it's worth understanding the trade-offs before you choose.
| Material | Salt Air / Corrosion Resistance | Maintenance | Typical Cost Tier |
|---|---|---|---|
| Vinyl | Very good — won't corrode or rust | Low; occasional rinse and hardware check | Lower |
| Fiberglass | Excellent — stable in temperature swings and moisture | Low | Higher |
| Aluminum-clad wood | Good on the exterior; interior wood needs protection from any leaks | Moderate | Higher |
| Bare wood | Poor without diligent upkeep in this climate | High | Varies |
We're upfront with Birch Bay homeowners about wood windows: they can look great, but bare or minimally clad wood exposed to salt air and near-constant dampness demands a maintenance schedule most people underestimate. If a leak does develop, wood is far less forgiving than vinyl or fiberglass. That's a maintenance and moisture-behavior trade-off worth knowing before you commit, not a reason to rule wood out entirely if you're prepared to stay on top of it.
How We Approach a Birch Bay Installation
- On-site assessment. We look at sun and wind exposure on each elevation of the house, condition of the existing openings, and how the current windows have held up — that tells us where problems are likely hiding.
- Accurate measuring. Every opening gets measured individually. Older homes settle unevenly, and assuming all openings are identical is a common source of gaps and callbacks.
- Material and style selection. We walk through options based on your exposure, budget, and how the window needs to perform — not just how it looks.
- Careful removal. Old units come out cleanly, and we inspect the opening before closing it back up with anything new.
- Flashing and sealing done in the right order. This is the step that determines long-term performance, and it's not one we shortcut to save time.
- Installation, leveling, and insulating. The window is set, shimmed, and insulated properly before trim goes back on.
- Final inspection and cleanup. We check operation, seals, and finish work before we consider the job done.
What Affects the Cost of Window Installation in Birch Bay
We don't publish flat prices because window installation cost genuinely varies house to house — but the variables that drive it are consistent, and it's worth understanding them before you get quotes.
| Factor | Why It Matters |
|---|---|
| Number of windows | Per-window cost typically drops somewhat as the job scales up |
| Window material | Vinyl, fiberglass, and clad-wood carry different material costs |
| Size and style | Standard double-hung windows cost less than large picture windows, bay/bow units, or custom shapes |
| Condition of the opening | Rotted sheathing or framing found during removal adds repair work before the new window can go in |
| Access | Second-story or hard-to-reach openings take more time and equipment |
| Trim and finish work | Matching existing interior or exterior trim adds labor beyond the window itself |
The only way to get a real number is a look at the actual openings — anyone quoting a whole-house price over the phone without seeing the home is guessing.
Why It Matters That We Already Work in Birch Bay
A crew that only occasionally works near the water treats every coastal job as a one-off. A crew that regularly works in Birch Bay already knows which elevations of a house take the worst of the wind-driven rain, how much salt exposure a given lot typically gets based on its distance from the water and prevailing wind direction, and which flashing and sealant details hold up here versus which ones look fine on installation day and fail in three years. That familiarity isn't marketing — it changes real decisions on the job, like where to add extra flashing detail or which sealant to use on a west-facing wall that catches weather every storm.
It also means we're not learning Whatcom County's permitting and inspection expectations for the first time on your project. Local experience shows up in the parts of the job you don't see, which are exactly the parts that determine how long the window lasts.
Keeping New Windows Performing Through Moss Season and Beyond
A correctly installed window in a good material needs very little upkeep — but "very little" isn't "none," especially this close to the water.
- Rinse salt spray and grime off frames and glass periodically, especially on the side of the house facing the water or open wind
- Check exterior caulking once a year for cracking or gaps, particularly after the first winter in a new installation
- Keep weep holes at the base of the frame clear so any water that does get in can drain back out
- Trim back vegetation and clear debris that keeps trim and sills shaded and damp longer than they need to be
- Operate hardware occasionally through the off-season so cranks and locks don't seize up
None of this is demanding, but skipping it is how a well-installed window ages faster than it should in a climate like this one.
If your windows in Birch Bay are showing their age, or you're planning ahead for a remodel, we're glad to take a look and give you a straightforward, no-pressure estimate. Use the form below to get started.