 Lynden Siding
 New-Construction Windows in Birch Bay: Getting the Opening Right the First Time
New construction is the one point in a home's life where a window opening can be built correctly from the studs out, before siding, house wrap, or trim ever go up. That matters everywhere, but it matters more on a Birch Bay build than it does a few miles inland. Birch Bay sits right on the water in northern Whatcom County, and homes going up out here take a steadier dose of salt-laden marine air, wind-driven rain, and a moss and mildew season that runs long across shaded and north-facing walls. A window opening that's flashed and sequenced correctly during framing will shrug off that exposure for decades. One that's rushed or done out of order almost always ends up as a warranty callback or a hidden rot problem a few years down the line.
We're based in Lynden and work new-construction window installs for builders and homeowners throughout this part of Whatcom County, including waterfront and near-waterfront lots around Birch Bay. On new builds specifically, our focus is the sequence: how the rough opening is prepped, how the weather-resistive barrier and flashing tie into the window before siding closes everything in, and how that whole assembly is built to handle sideways rain rather than just rain falling straight down.
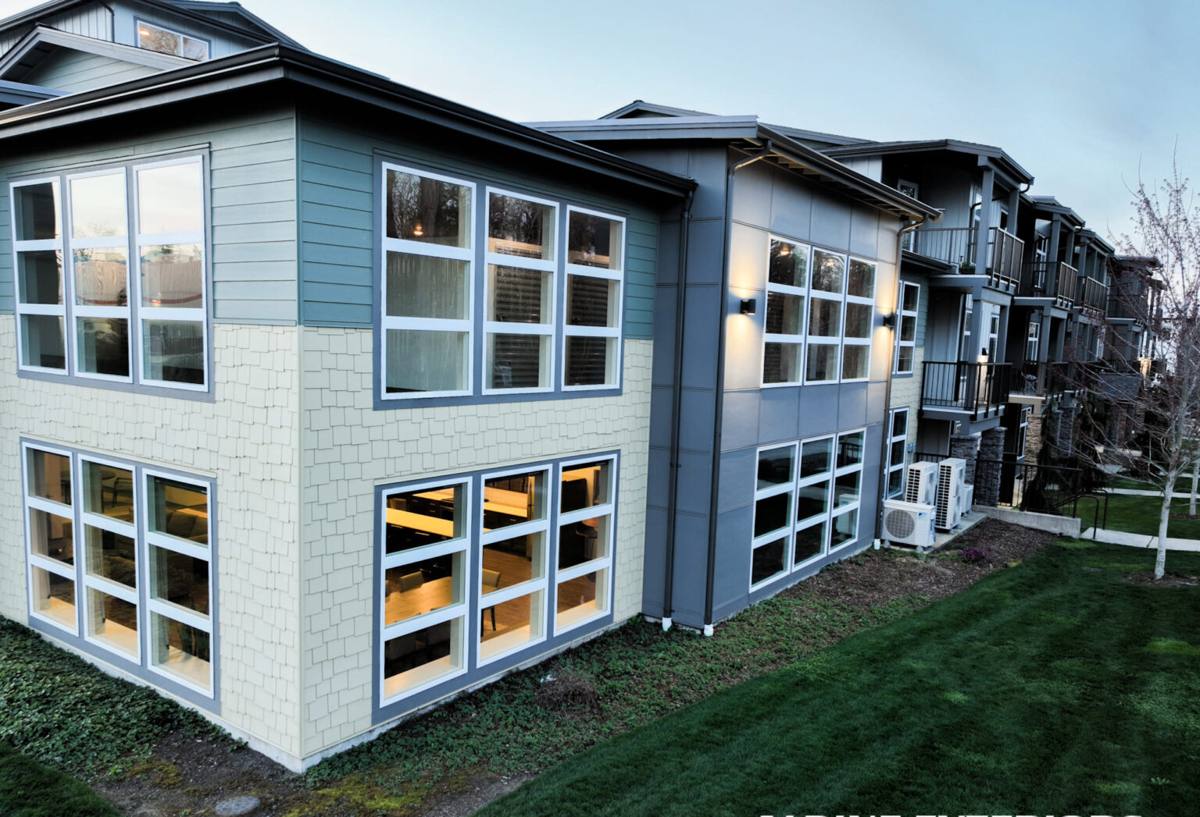
What Birch Bay's Climate Means for a New Window Opening
Salt Air and Corrosion Risk From Day One
Because Birch Bay sits directly on the water, new construction here deals with more salt exposure in the air than a build set back even a short distance inland. That affects material choices from the start — fasteners, flashing tape, and hardware all need to be rated for corrosive exposure, not just standard-grade builder's stock. On new construction this is easy to get right because nothing is buried yet; on a retrofit it's much harder to correct after the fact.
Wind-Driven Rain Pushed Sideways Into the Wall
Waterfront exposure means more wind, and wind-driven rain doesn't behave like a calm, straight-down shower. It gets forced sideways into window rough openings, seams, and fastener points that a sheltered inland build wouldn't have to account for as heavily. That's exactly why flashing sequence matters so much on a Birch Bay opening — water needs a clear path down and out of the wall assembly even when it's arriving from the side, not just from above.
A Long Moss and Mildew Season
Mild temperatures and near-constant moisture add up to a moss and mildew season that can run most of the year across shaded parts of a Birch Bay property. On new construction, that's less about the window unit itself and more about drainage — sill pans and flashing that direct incidental water away from the rough opening keep moisture from sitting against sheathing and trim long enough for growth to take hold.
What Correct New-Construction Window Installation Actually Involves
New-construction window work is fundamentally different from a replacement or retrofit, because the window is going into a fresh, open rough opening rather than an existing wall that's already closed up. That gives us access to build the assembly in the right order, which is the single biggest factor in how a window performs over time.
- Rough opening prep: Framing checked for square, level, and correct dimensions before anything else happens — an opening that's out of square strains the window unit and its seals from day one.
- Sill pan flashing: A sloped, sealed pan at the bottom of the opening that directs any water that gets past the window straight back outside instead of letting it sit on the sill or drain into the wall cavity.
- Weather-resistive barrier integration: House wrap is lapped and sealed around the opening in the correct shingle-style sequence — each layer overlapping the one below it — so water sheds down and out rather than working its way behind a layer.
- Window flashing tape: Applied over the nailing flange and integrated with the house wrap so the whole assembly sheds water as one continuous system, not a window taped on as an afterthought.
- Head flashing: A drip cap or head flashing above the window that breaks up water flow before it reaches the top of the frame, which matters more here given how much wind-driven rain this area sees.
- Fastening to manufacturer spec: Correct fastener type, spacing, and location so the window performs to its rated structural and water-resistance specifications, not just whatever holds it in place.
Every one of those steps has to happen in the right order, before the siding crew ever shows up. Skipping or rushing any single step doesn't usually cause a visible problem on install day — it shows up two, five, or ten years later as staining, soft framing, or a leak that's expensive to trace because it's now hidden behind finished walls.
How Our Process Works on a New Build
We coordinate directly with the builder or general contractor's framing schedule so windows go in at the right point in the sequence — after the rough openings are framed and the weather-resistive barrier is up, before siding closes everything in. On a Birch Bay lot we also walk the site orientation with the homeowner or builder early, since which elevations face the water and prevailing wind affects how much attention certain openings need relative to others.
Typical Sequence on a New-Construction Window Install
- Review rough openings against window schedule and manufacturer specifications
- Confirm framing is square, level, and properly sized before scheduling install
- Install sill pan flashing at each opening
- Integrate weather-resistive barrier and flashing tape in correct shingle-lap order
- Set and fasten window units to manufacturer spec
- Install head flashing and confirm the full assembly sheds water as one system
- Document flashing details before siding closes the wall, so the work is verifiable later if needed
That last step matters more than it sounds. Once siding goes on, the flashing behind it isn't visible again without tearing into the wall. Doing it right the first time — and documenting it — is the only real assurance a homeowner has that the assembly behind the siding is sound.
Choosing Windows for a Birch Bay Build
Frame material and hardware grade matter more on a waterfront lot than they do a few miles inland. We talk new-construction clients through the real trade-offs rather than steering toward one brand as the only right answer.
| Factor | Why It Matters in Birch Bay |
|---|---|
| Frame material (vinyl vs. fiberglass) | Both resist rot better than uncladded wood; fiberglass holds up marginally better across temperature swings and takes paint if custom color matters |
| Hardware and fastener grade | Standard-grade hardware corrodes faster in salt-laden air than corrosion-resistant grades built for coastal exposure |
| Glazing package | Low-E, multi-pane glazing reduces interior condensation during damp, cold stretches and improves comfort near large window walls facing the water |
| Nailing fin vs. block frame | Determines how the window integrates with flashing and siding — this gets decided with the builder early, since it affects rough opening dimensions |
| Sill pan and flashing tape rating | Products need to be rated for sustained UV and moisture exposure, not just general-purpose builder's stock |
A Checklist for Homeowners and Builders Before Windows Go In
- Confirm rough openings have been checked for square and correct dimensions against the window schedule
- Ask specifically how sill pan flashing and weather-resistive barrier integration will be sequenced, not just what window brand is being installed
- Confirm fasteners and flashing tape are rated for coastal, corrosive exposure
- Ask whether flashing details will be photographed or documented before siding covers the wall
- Confirm current Washington contractor licensing and active liability insurance
- Get a written scope that separates the window manufacturer's product warranty from the installer's workmanship warranty
Why a Local Crew Matters on a Birch Bay Build
A crew that regularly works this stretch of Whatcom County coastline already knows how salt air and wind-driven rain behave differently here than on a sheltered inland lot, and that shows up in the small decisions during framing — how much lap a flashing detail gets, which fastener grade gets specified, how much extra drainage detailing goes into water-facing elevations. Those are exactly the decisions that determine whether a new-construction window opening stays dry for one wet winter or for the life of the house. We're a Lynden-based crew, and Birch Bay's coastal exposure is a climate we build for regularly rather than treat as an occasional exception.
Our Process, Start to Finish
We start by reviewing the window schedule and rough opening plans against the site's orientation and exposure, so any elevation facing the water or prevailing wind gets the attention it needs. From there we coordinate with the builder's framing timeline, install flashing and window units to manufacturer spec as standard practice rather than an upsell, and document the flashing details before siding closes the wall. If we're also handling the siding on the same build, that continuity means the same crew that flashed the windows is the crew tying the siding drainage plane into them — one less place for a handoff gap to cause a problem down the road.
If you're planning a new build or an addition on a Birch Bay lot and want windows installed right the first time, we're happy to review the plans and walk through what the site's exposure calls for. Reach out below for a free, no-pressure estimate.